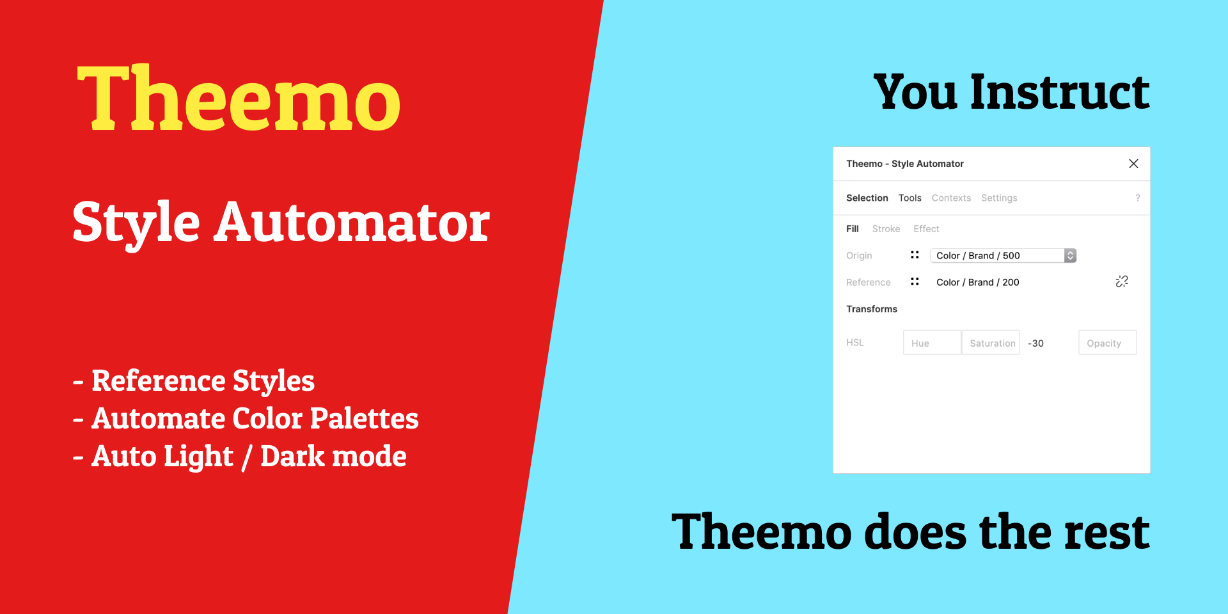
Tired of update styles that reference another one? This plugin will do it for you!
This plugin will let you do this:
1. Manage style references on a selected node
2. Auto-update all references as you change origins (keep the plugin open for this)
3. Export references to make it available for third-party consumers
4. Switch contexts
# 1. Manage References
Select a node for which you want to manage references, eg. a rectangle. Open the “Style References” plugin and a dialog will appear that let you do it. Currently these styles are supported:
– Fill Style
– Stroke Style
– Effect Style
For each of those there is a section in the dialog where you can manage the origin style to the reference.
– **Origin** That’s the _original_ style.
– **Reference** That’s the style to which the origin is copied over when references are updated.
## Transforms
For paint styles (Fill and Stroke) transforms are available. When styles
are referenced from origin to reference you can put transforms in between.
Availabe are HSL + Opacity values. They will be applied during
referencing.
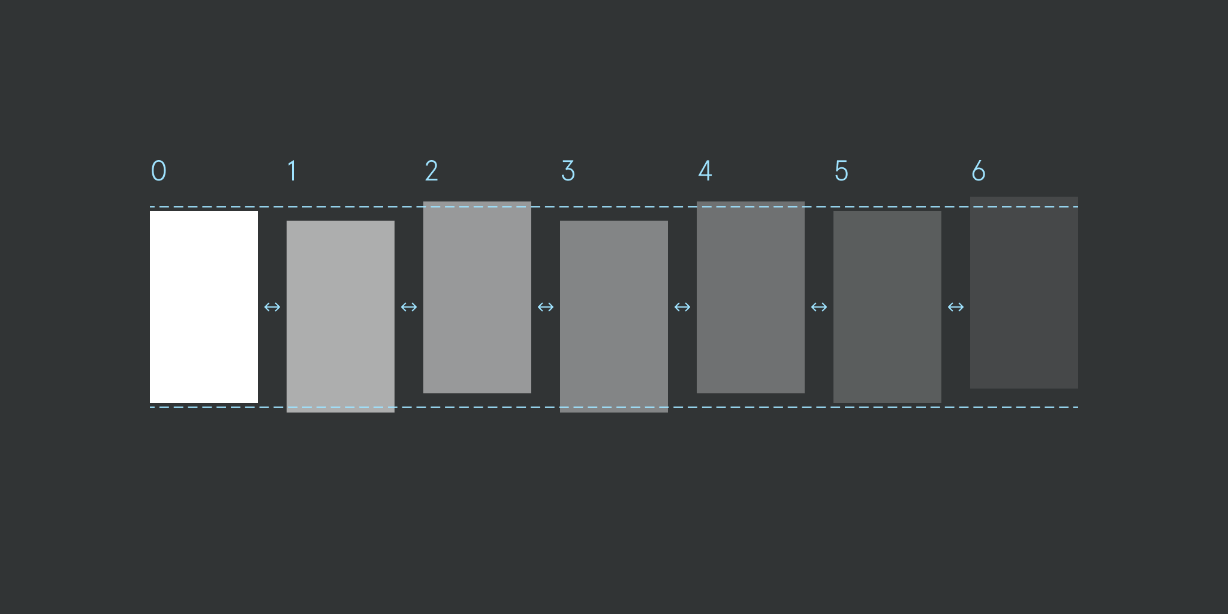
Use this to automate your color palette. Make one color swatch for your
base value (e.g. “Brand / 500”). A darker color would take your base value as
reference and set lightness to “-20” – name it for example “Brand / 300”.
# 2. Export
You can export your references to jsonbin.io and by that make it available for third-party consumers, e.g. if you want to update your design tokens in your code. Here is how:
Enter credentials in settngs:
1. Create an account and copy the API Key
2. Create a bin and copy the bin URL
On the tools tab the `Export Settings` button becomes available. Clicking the button will export your references.
# 3. Import
You can import your earlier exported references from jsonbin.io. That is really helpful when you duplicated your document – figma will not copy over your stored references. Here is how to import references:
1. Duplicate a document
2. Open the old document, open the plugin, go to settings and copy the Bin URL
3. Go the new new document (the plugin should still be opened), paste the URL into the input for import and click the button next to it.
4. A notification will appear telling you how much references were imported.
5. You can work with your new document the same way as the old one now – win!
# 4. Contexts
Contexts are a lightweight way to organize various theme modes within one document. E.g. if you have light and dark mode in one document, you may want to give styles for respective styles a specific suffix, e.g. `.$dark` – With defined contexts, you can swap between them quickly and then use Themer to export them.
## Workflow Suggestion
Use it in combination with Themer:
1. Set your variants for each context (`§light` and `§dark`)
2. Select a context
3. Use `Style References` to map those “compiled” styles
4. Use `Themer` to export and apply them
### Things to Know
– When setting the origin style the suggestions only show local styles, that is also due to limitations of the current figma API, given security reasons for shared team libraries. That’s fair – figma keeps us safe, give them credit for that 🙂
It still is possible to use library styles, then you can’t use the style references manage dialog, instead manually assign those style and THEN use the style references dialog in order to persist it.
– Once you have one node “under management”, you may want to change the local style but once you update references, those new ones will be overridden. Re-select the node again and the references dialog will provide you options for migrating styles, to either keep the old one or use the new one.
– Once you link origin to reference the node itself will show the reference as its local style, which might give you wonders, yet is expected and the correct behavior.
