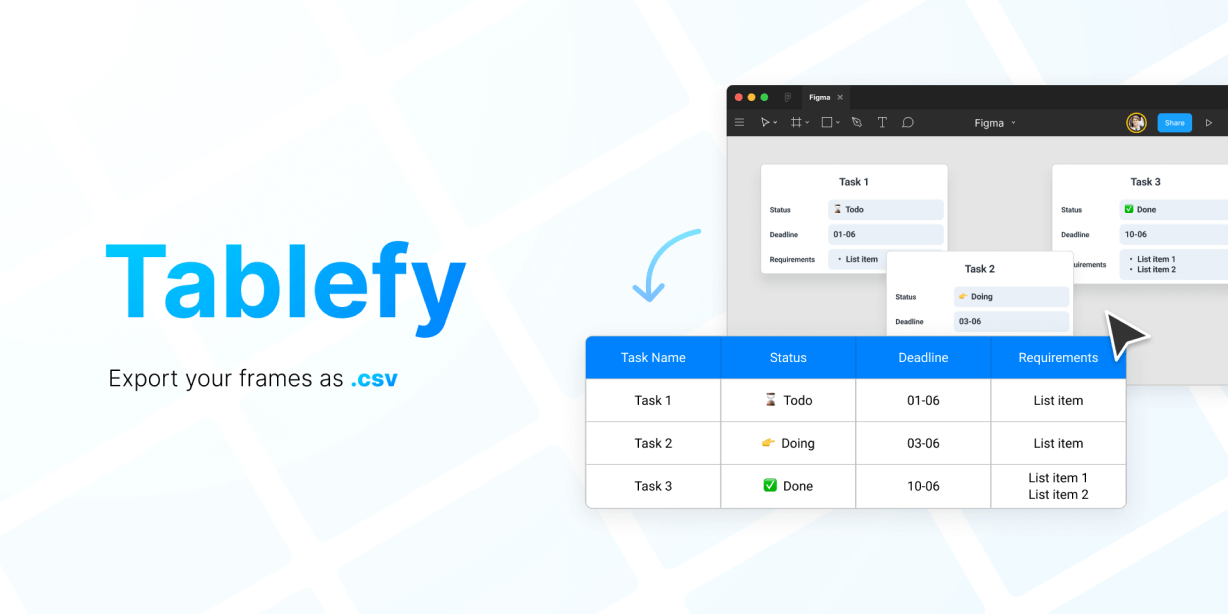
Export your frames and instances to tabular data (.csv).
Let’s say you manage some tasks on your Figma files and want to export a .csv to filter by status, send it to someone or upload to Google Sheets. Tablefy will help you do just that.
How to use it
Tablefy relies on your layers naming to recognize how to transform your frames / instances to tabular data.
As an example, you could create a list of instances with the following layer structure and names:
👉 Instance named “Item”
Group named “Column”
- Text Layer named “Header” filled with text “Name”
- Text Layer named “Value” filled with text “Task 1”
Group named “Column”
- Text Layer named “Header” filled with text “Status”
- Text Layer named “Value” filled with text “To do”
So, you could open the plugin and set the values:
- Row identifier: “Item“
- Column Identifier: “Column“
- Value text layer: “Value“
- Header text layer: “Header“
When you hit Tablefy button, it will generate a .csv with two columns (Name, Status) and as many rows as the frames or instances you selected.
You can add as many columns as you want! If your frame just have one useful column, you can ignore “Column Identifier” and keep it empty.
It’s recommended that you always use instances, since they guarantee each selected frame has always the same layers.
Custom columns:
You can add custom dynamic columns. Let’s say you want to export an url to your frame listed as a row in the csv. You could add a custom column and set its value to “${url}”. You can use node parameters as well, like ${node-id}, ${node-name}, ${node-x}.
Available variables:
- ${url} – creates an url to the frame
- ${index} – adds a counter relative to the frame list position
- ${node-prop} – retrieve properties from the figma node object, like “node-id”, “node-name”, “node-x”
- ${predict:”frameName”, category: “frameTextLayer”}
Predict columns with Machine Learning
Use the “predict” variable in a dynamic column to apply a classification automatically using the KNN (K-Nearest Neighbours) algorithm. It finds the nearest frame to the row node and sets a value from a layer of that closer framer.
This can be really useful if your spacial organization has some meaning that you want to export to the rows. If you have a canvas with titled areas, you could export with your rows which title frame was closer to it.
An example:
If you set a custom column value field like: ${predict:"frameName", category: "frameTextLayer"}
For each node (row) we will look at all the frames named “frameName”, find which one is closer to the node and apply to this column that frame’s “frameTextLayer” content.
