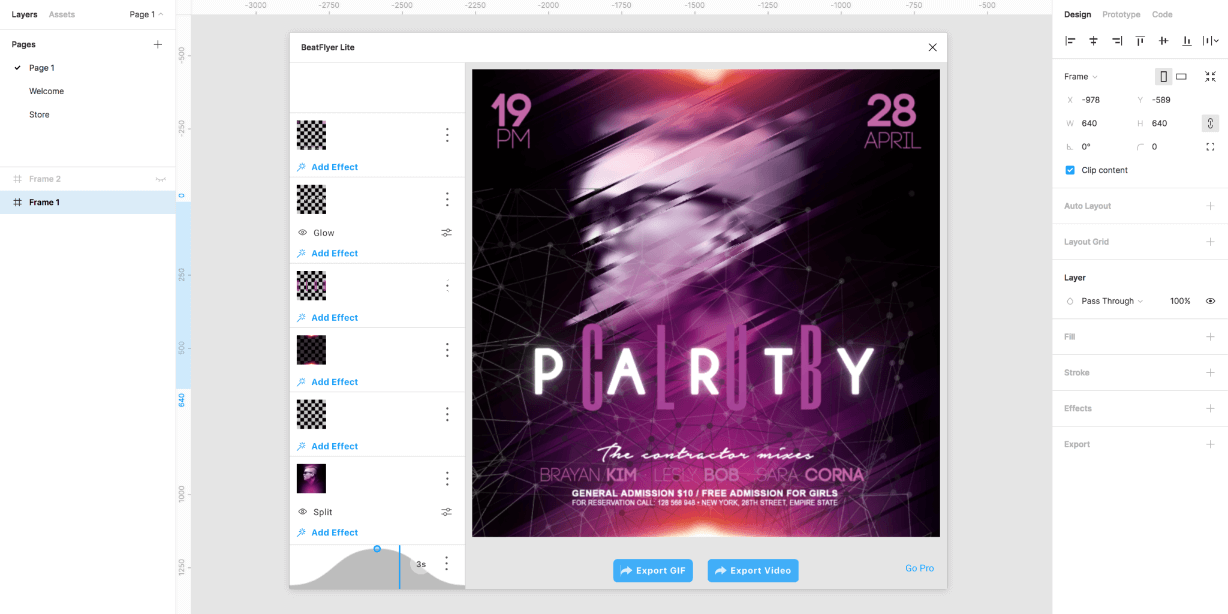
Make ultra smooth animations. Export GIF, Sprites, Frames or CSS. Motion is an animation tool which helps you to bring your design to life. You can animate whatever you want. There is no need to switch to another motion tool such as Principle, Haiku or After Effect. Just try 🙂
How to use Motion
Playback
To play the animation click on the Play button or press [Space]. To stop – click on the button again or press [Space].
You can specify how the stop will work. It can pause the animation or go to start. To setup this go to Menu / Preferences / Playback.
If the animation preview is laggy you can setup 24/60 fps in Menu / Preferences / Playback. Don’t worry, it will not affect exports.
Hotkeys:
[Home] – go start.
[End] – go end.
[Arrow keys] – go backward/forward by 100 ms.
[Arrow keys + Ctrl] – go backward/forward by 10 ms.
[Arrow keys + Shift] – go backward/forward by 500 ms.
[Ctrl+T] – set the time
Add/Delete keyframes
There are some ways to add keyframes.First is to double click on any property on the timeline at the time you want. The next one is to click on the pink keyframe on any property name. In this case a keyframe will be added on the current time position. One more way is to click on ‘Add keyframe’ from the dropdown menu on the timeline. The keyframe will get node current value.
To delete keyframe or keyframes click on [Backspace]/[Delete] key or click on ‘Delete keyframe’ from the dropdown menu on the keyframe.
Hotkeys:
[Double click] on the timeline – add keyframe.
[Backspace]/[Delete] – delete keyframes.
Move/Copy/Paste keyframes
Hotkeys:
[Drag] – move keyframe by 100 ms.
[Drag + Ctrl] – move keyframe by 10 ms.
[Ctrl + C] – copy keyframe.
[Ctrl + V] – paste keyframe.
[Drag + Alt] – copy keyframe and move by 10 ms.
Keyframe properties
You can set the value of the keyframe, easing and in some cases anchor point.
X, Y and Rotation properties deal with the anchor point of the node. It is very important to understand that fact. The value you see in the properties panel is relative according to the anchor point of the node. It is common for X, Y and Rotation properties.
Export
You can export your animation any way.
Hotkeys:
[Ctrl + E] – export GIF
Missed node
Sometimes you can find `Missed node` in the left panel. This happens when you move your node in or out of a frame or a group. Motion can not track such movements because Figma changes the node id while doing this. You should copy keyframes and paste them to your moved node. After that delete missed node.


