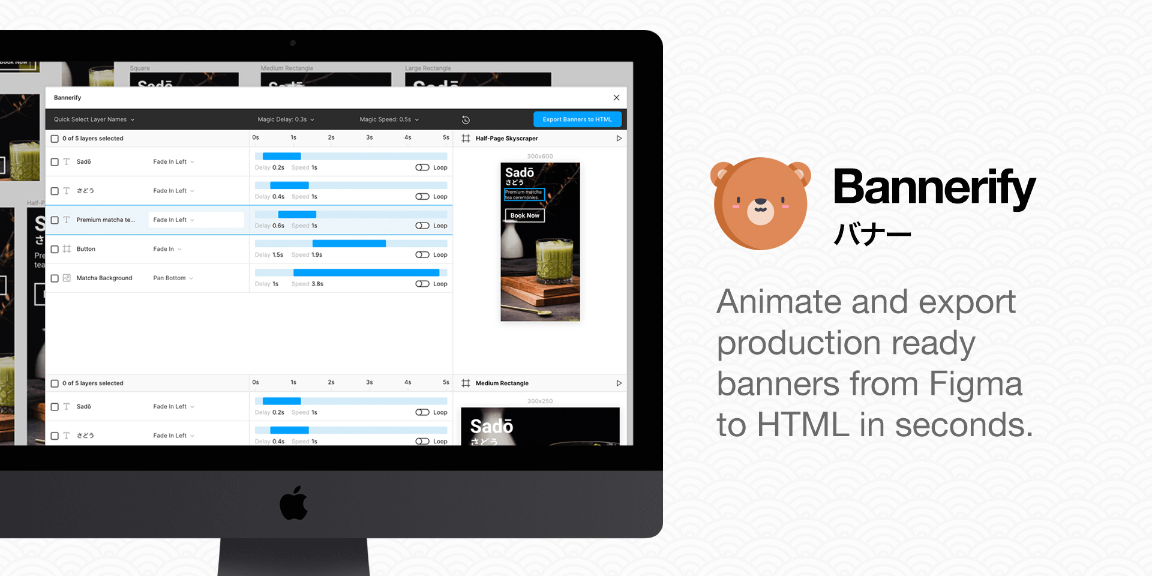
Animate and export production ready HTML banners from Figma in seconds.
— Features
• Criminally easy timeline animation and real-time previews inside Figma.
• Quick selection options for applying animations to mulitple layers with one click.
• Supports “entry” and “exit” animations for each layer.
• Create timelines in seconds using “Magic Timings”, or fine-tune everything yourself.
• Generates all the images, HTML, CSS and Javascript you need for every banner.
• Export to: HTML/CSS, GSAP,
— To use Bannerify
1. Install Bannerify and create a new Figma project.
2. Create as many different sized frames as you need for your banners.
3. Add any images, text and components to your frames.
4. Run Bannerify inside the page containing your banner frames.
5. Apply some animations and timings to the layers inside each frame.
6. Click the “Export Banners to HTML” button to open the export panel.
7. Choose your export format/options and click “Export Banners”.
8. Download and enjoy your HTML banners!
For a step-by-step video tutorial, visit: https://www.youtube.com/watch?v=-TA088FNulA
— Additional Notes
• To start playing with Bannerify right away, you can duplicate this pre-designed example Figma file – https://figma.fun/8Eg9Rf – to easily see how Bannerify works and what the layer structure can look like. This Figma file already has some example animations set on the layers of each banner, too.
• To quickly get started designing your own banners, Bannerify will offer to create some standard banner sizes automatically for you if you run Bannerify inside of an empty Figma page.
• If you add or update any layers in your Figma file while Bannerify is already running, you can click the “Refresh” icon in the Bannerify header menu to refresh your layers and make them show up in the Bannerify timeline and real-time previews.
• By default, Bannerify will export all image layers @1x. You can change this for any layer by clicking “Export +” in the right-hand column of Figma’s UI and adding your own export size setting (@2x, @3x etc).
• Bannerify will automatically detect if a layer contains areas of full transparency and set “PNG” as the default export format, otherwise it will be set to “JPG”. You can override this to set the export format of any layer to JPG, PNG or SVG (for vectors) by adding your own export setting.
• Text layers will automatically be exported as SVG paths to make them sharper than PNG images, have lower file sizes, and avoid loading custom web fonts for each banner.
• You can set the background colour of any banner by setting the “fill” of that frame to the colour you need in Figma.
• The name of your Figma document will be used as the “title” tag for the exported HTML Bannerify preview page.
