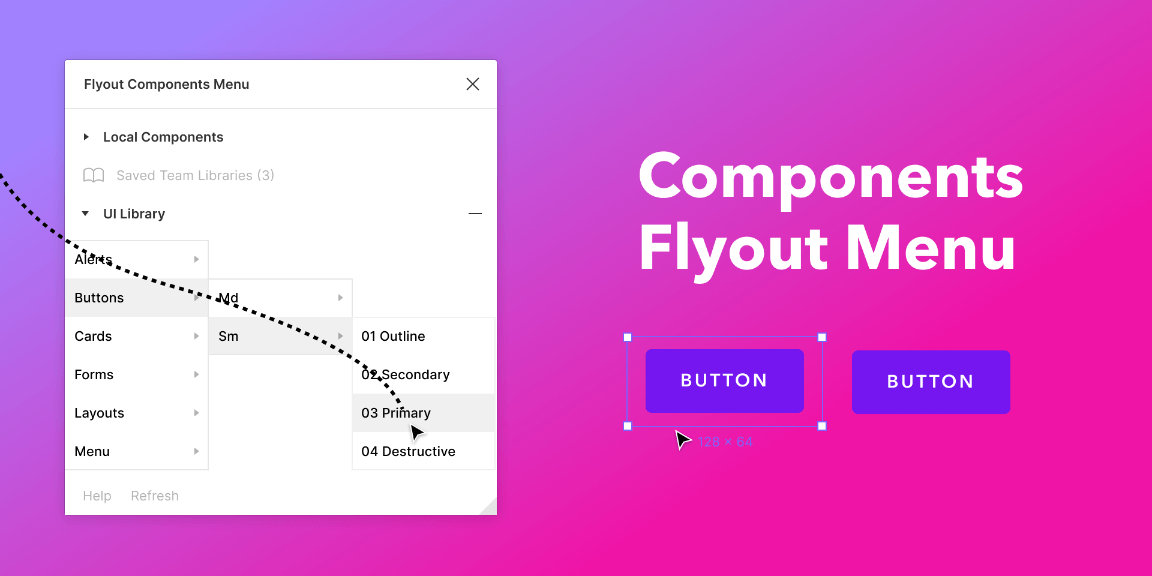
Browse and insert local and team components via a flyout menu. Familiar workflow to Sketch users.
👉 Features
• Browse local and team components in a flyout menu.
• Less clicking: Hover over each menu group to expand submenus.
• Clicking on a menu item group will automatically fetch the first sorted component at the deepest nest level.
• Control the size of the plugin modal with a resize handle in the bottom right. Although the plugin modal will scroll horizontally and vertically you may wish to size the window to a more convenient size based on how many levels your menu has.
👉 Team Libraries
Team libraries are supported with a small workaround.
To add a team library:
1. Open the source library document and launch this plugin.
2. Click “Add Team Library”. The library should then appear in the “Saved Team Libraries” section.
Note: This does not “copy” the team library, it stores a reference to it so all component connections maintain their connection.
To update a team library:
1. Open the source library document and launch this plugin.
2. Click “Update Team Library”.
To remove a team library:
1. Click the minus sign next to any saved team library to remove it. To re-add, follow the steps to add the library.
To use components from saved team libraries:
1. Assuming the team library has been added, enable the team library via Figma’s assets panel as normal.
👉 Known Issues
1. Documents with many local components may take a few moments to populate at first. You may experience this as a frozen plugin when first launching it, however give it some time before shutting it down. This is because the plugin has to search all of the nodes in the current document for components.
2. Team libraries are stored by name, so if you have 2 team libraries called “Design System”, saving one will overwrite the other in this plugin.
3. Saved team libraries do not persist if browser cache has been cleared. This is because the reference is stored in figma.clientStorage.


